Managing Access Control For Your Business With Alarm.com
Managing access control for you business can sometimes be overwhelming to get started. This process involves setting up systems and policies to ensure that only authorized individuals can access sensitive areas, resources, or information. This blog will help guide the process to balance security with convenience to protect sensitive areas, data and assets effectively.
System Overview
Sentry offers different types of access control but in this blog we will be covering access control with the alarm.com platform. Here is a system overview of the most commonly used Access Control features available on the Home page and User Access tab of the customer website and customer app.

Home page
The Home page provides quick access to real-time door control, Scenes, and account activity.
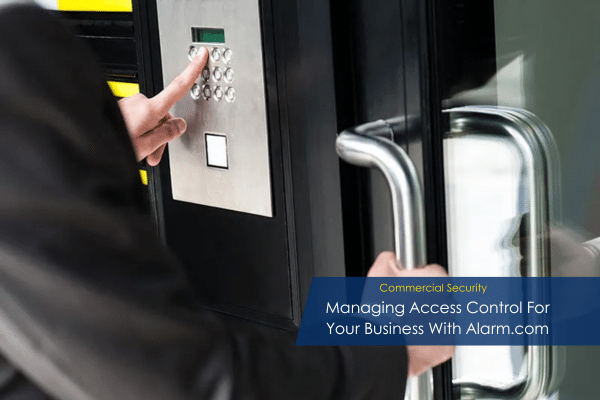
Real-time door control allows you to lock, unlock, and temporarily buzz open doors. Navigate to the Access Points (called Doors in stand-alone Access Control systems) card on the home screen to control your doors.


User Access tab
The User Access tab is where the configuration of the system takes place. Sub-tabs are available for Access Plans, Users, Access Points, and Manage Logins.
Assign an Access Control card or PIN to a user
Important: Access Control hardware must be programmed and doors added to the account before cards, fobs, or pins can be added to users. For more information, contact your service provider.
To assign a card, fob, or PIN to a user using the customer app:
Note: When adding new user credentials, changes made to new or existing users go into effect 2 minutes after the last user credential change is made. When revoking a user’s access, the change goes into effect immediately after saving.

To assign a card, fob, or PIN to a user using the customer website:
Note: When adding new user credentials, changes made to new or existing users go into effect 2 minutes after the last user credential change is made. When revoking a user’s access, the change goes into effect immediately after saving.
Managing Access After Setup
Many of our customers have gates and/or garage doors with their access control systems. Sometimes there are malfunctions that are simple fixes that can be troubleshot but please give us a call if you continue to have issues.

Gate control device is in malfunction
The Malfunction trouble condition indicates a device is unable to properly communicate.
Note: The gate control status may also appear as offline.
If a gate control device is in malfunction or offline:
Flex IO™
For LiftMaster gates
If the gate control device is still in malfunction or offline, please contact us.
Garage door opener is in malfunction
The Malfunction trouble condition indicates a device is unable to properly communicate.
Note: The garage door opener status may also appear as offline.
If a garage door opener is in malfunction or offline:
Have more questions? We have answers. Call us today.
817-632-4246
Looking for Assistance?
Have questions or want a free security assessment? Our team is ready to help.
New Security Systems
Schedule a consultation or system design
Existing Systems
Service, maintenance, and upgrades